Raspberrypi – Hadoop Cluster New Gears Show off

Last weekend, I gave it a quick POC of evaluating setting up hadoop on a few raspberry Pis. However, there was one Pi who only has  256MB RAM and also, the accessories were not complete and it was not perfect as I expected. Then I went ahead and bought a few gears from Amazon, a power outlet that has 12 sockets with rotating connector which will totally handle the raspberry pi cluster, switch, laptop..etc. Also, I purchase another raspberry pi from Amazon, it is from the Canakit and contains a 2nd generation pi, power supply and a case, which I think is a nice bundle.


ImageImage

Docker on Windows/MacOS/Ubuntu

More information about Docker, click here. 

I tried to install Docker on my Windows box by installing docker2boot and it worked most of the cases, but I failed to open up the flask server from my chrome, seems like the OS is blocking the port. Then I tried to install Docker on my OS assuming the unix-based Mac OS might have a better luck, however, it was even a worse user experience and it cannot do anything due to `docker file doesn’t exist…etc`..

In the end, to have a complete user experience, I started a Ubuntu Desktop virtual box on my beefy windows machine and I finished the tutorial and can see the page hosted by a Docker container.


Image

The command to kickstart a container who hosts a flask server to return hello world

Image

I can see the hosted page by the docker container

RASPBERRYPI HADOOP CLUSTER 4-Install Hadoop

Here, I wrote a play book to distribute the configuration files to the cluster.You can access the playbook from my github account.

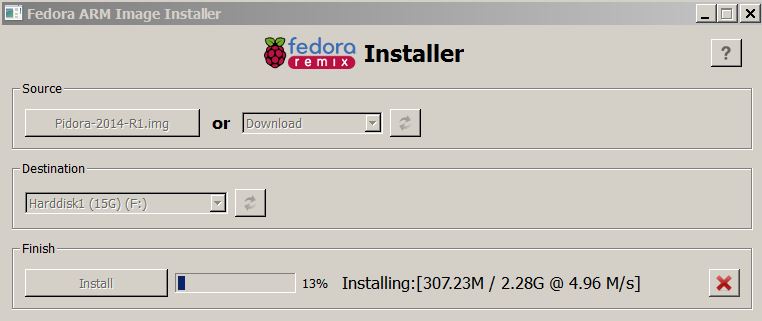
Then run the command, format the namenode and start_dfs.sh

Image


raspcluter_namenode

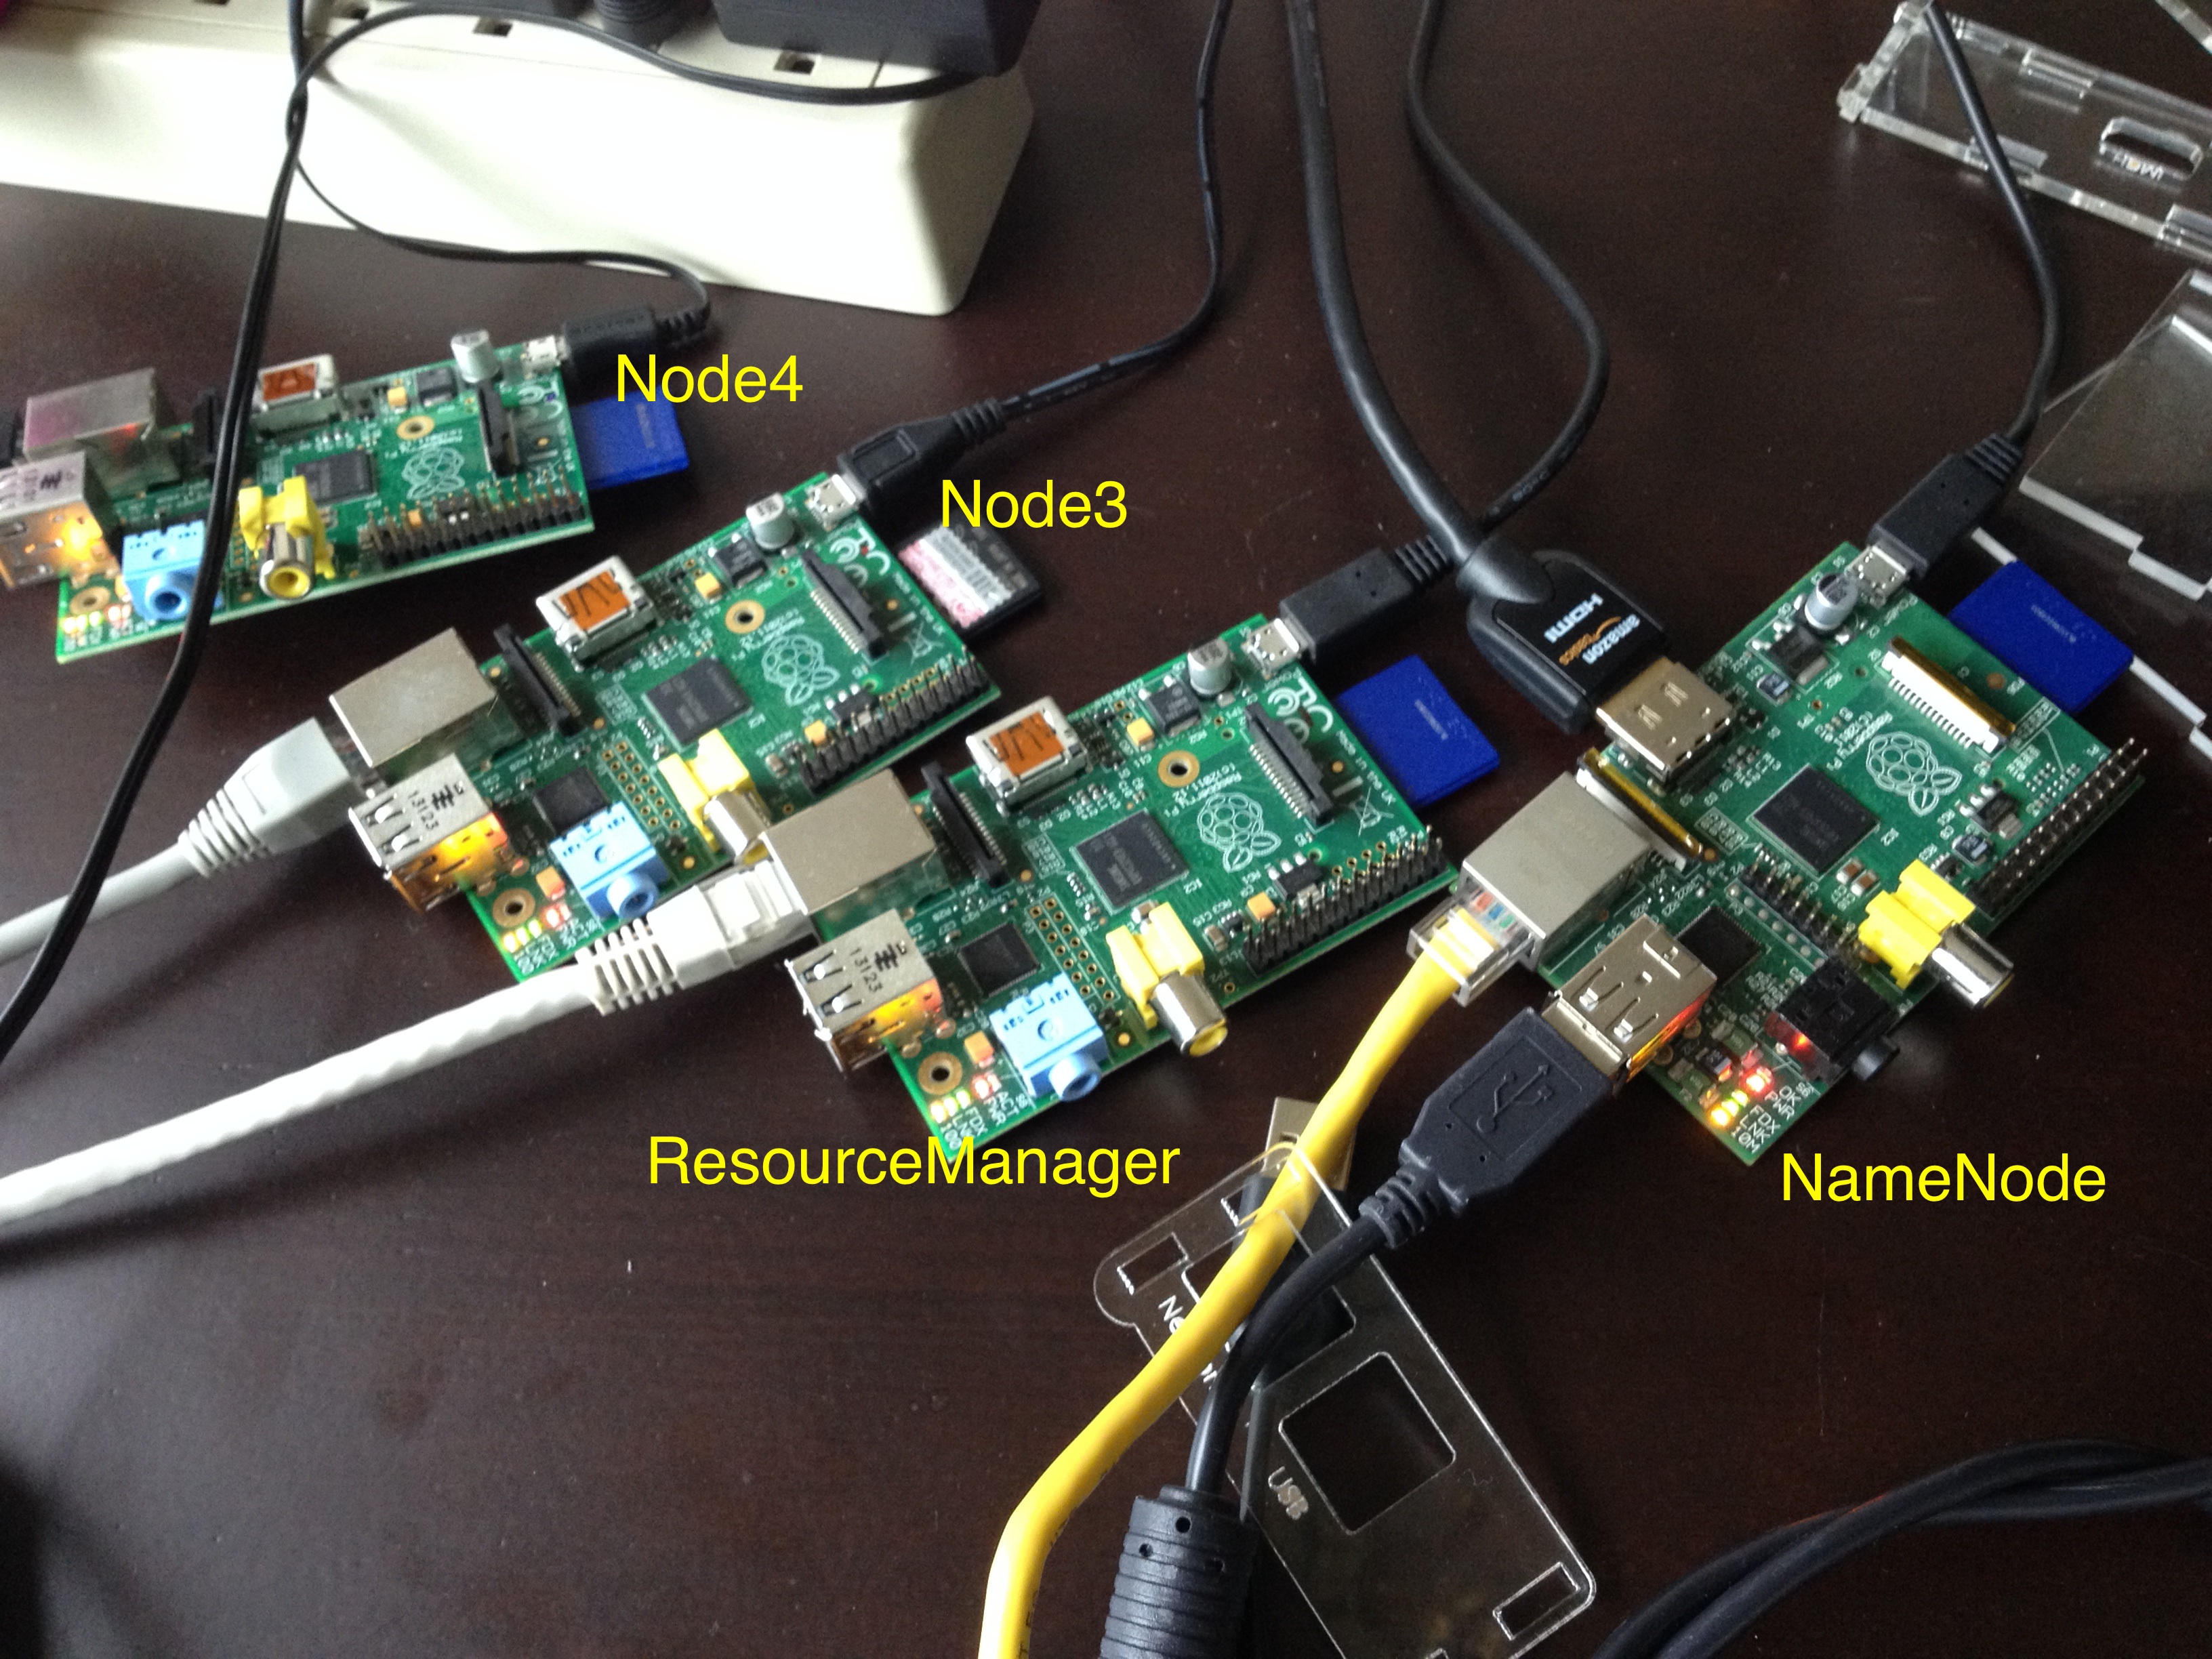
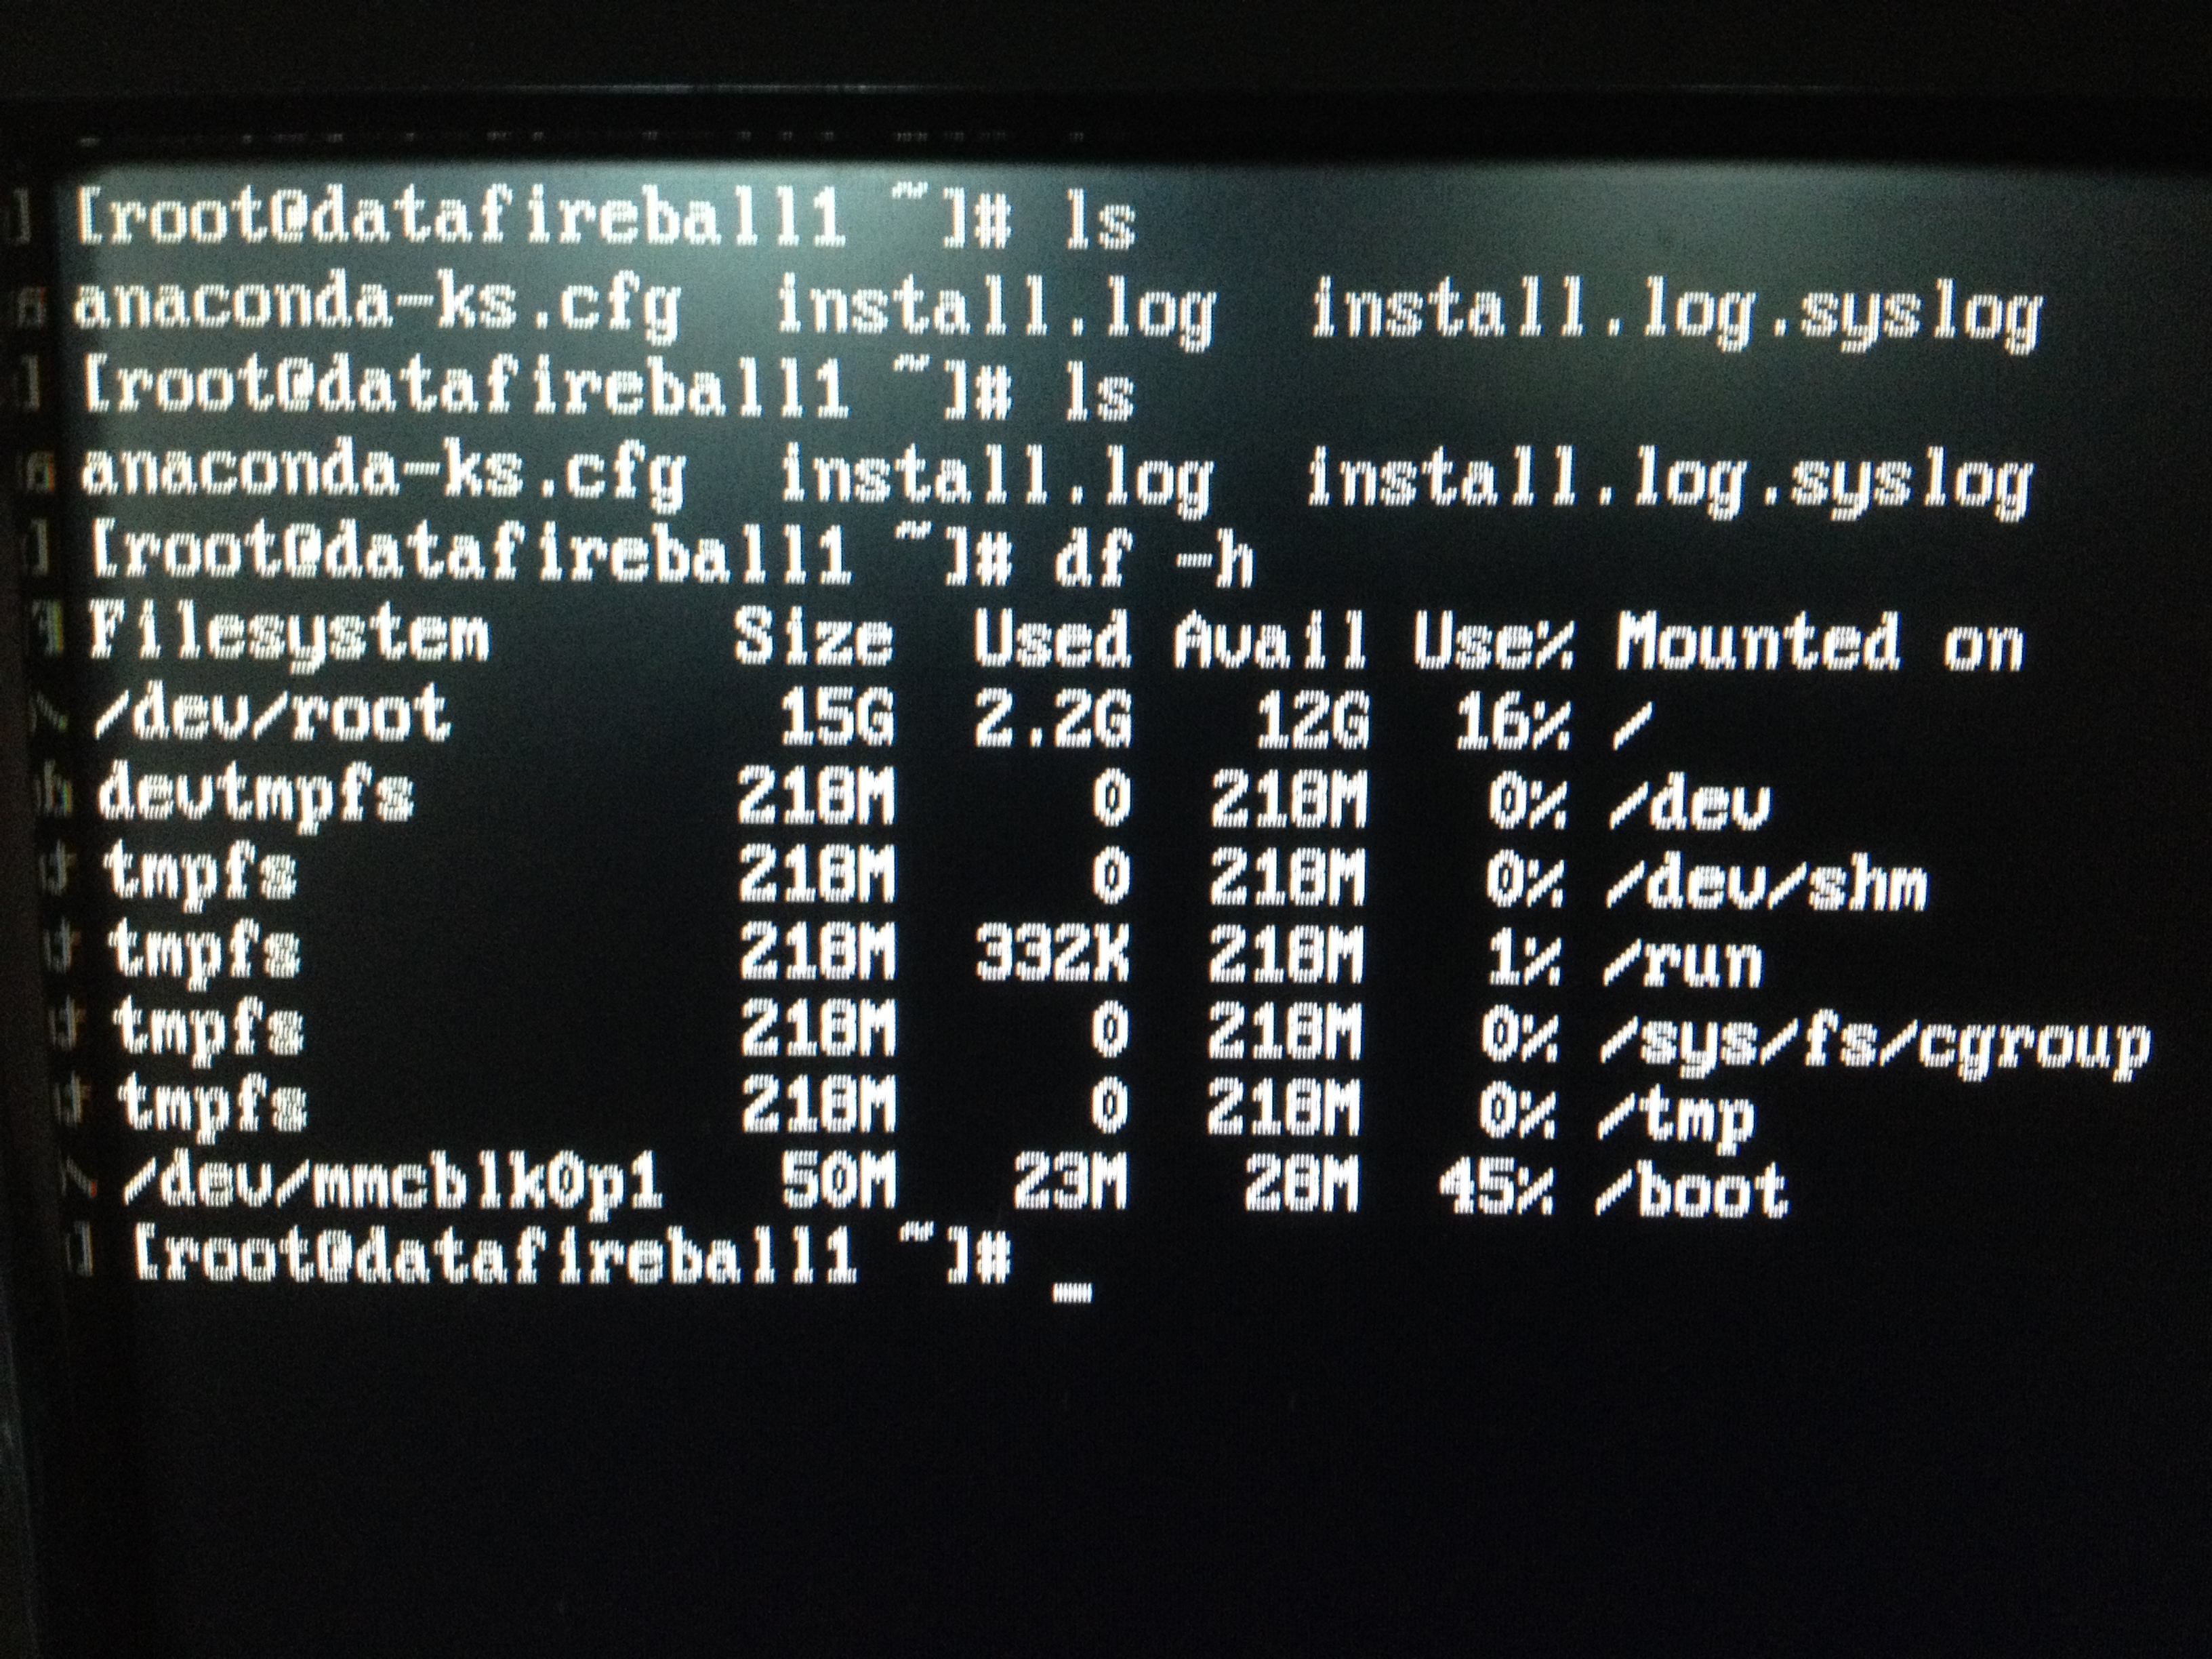
When you try to use HDFS, it will tell you the service is in safe mode and whatever you do, seems like you cannot turn off the same mode. I did some google and people say it is due to the replication number, in my case, I have four nodes, 1 namenode, 1 used as resource manager and two other nodes used as slaves/nodemanager/datanode. In which case, there will be at most 2 nodes to store data. However, the replication factor for HDFS is 3 out of box, which means the data will always be under replicated. Also, the resource is extremely limited on a raspberry pi whose memory is only 512MB.

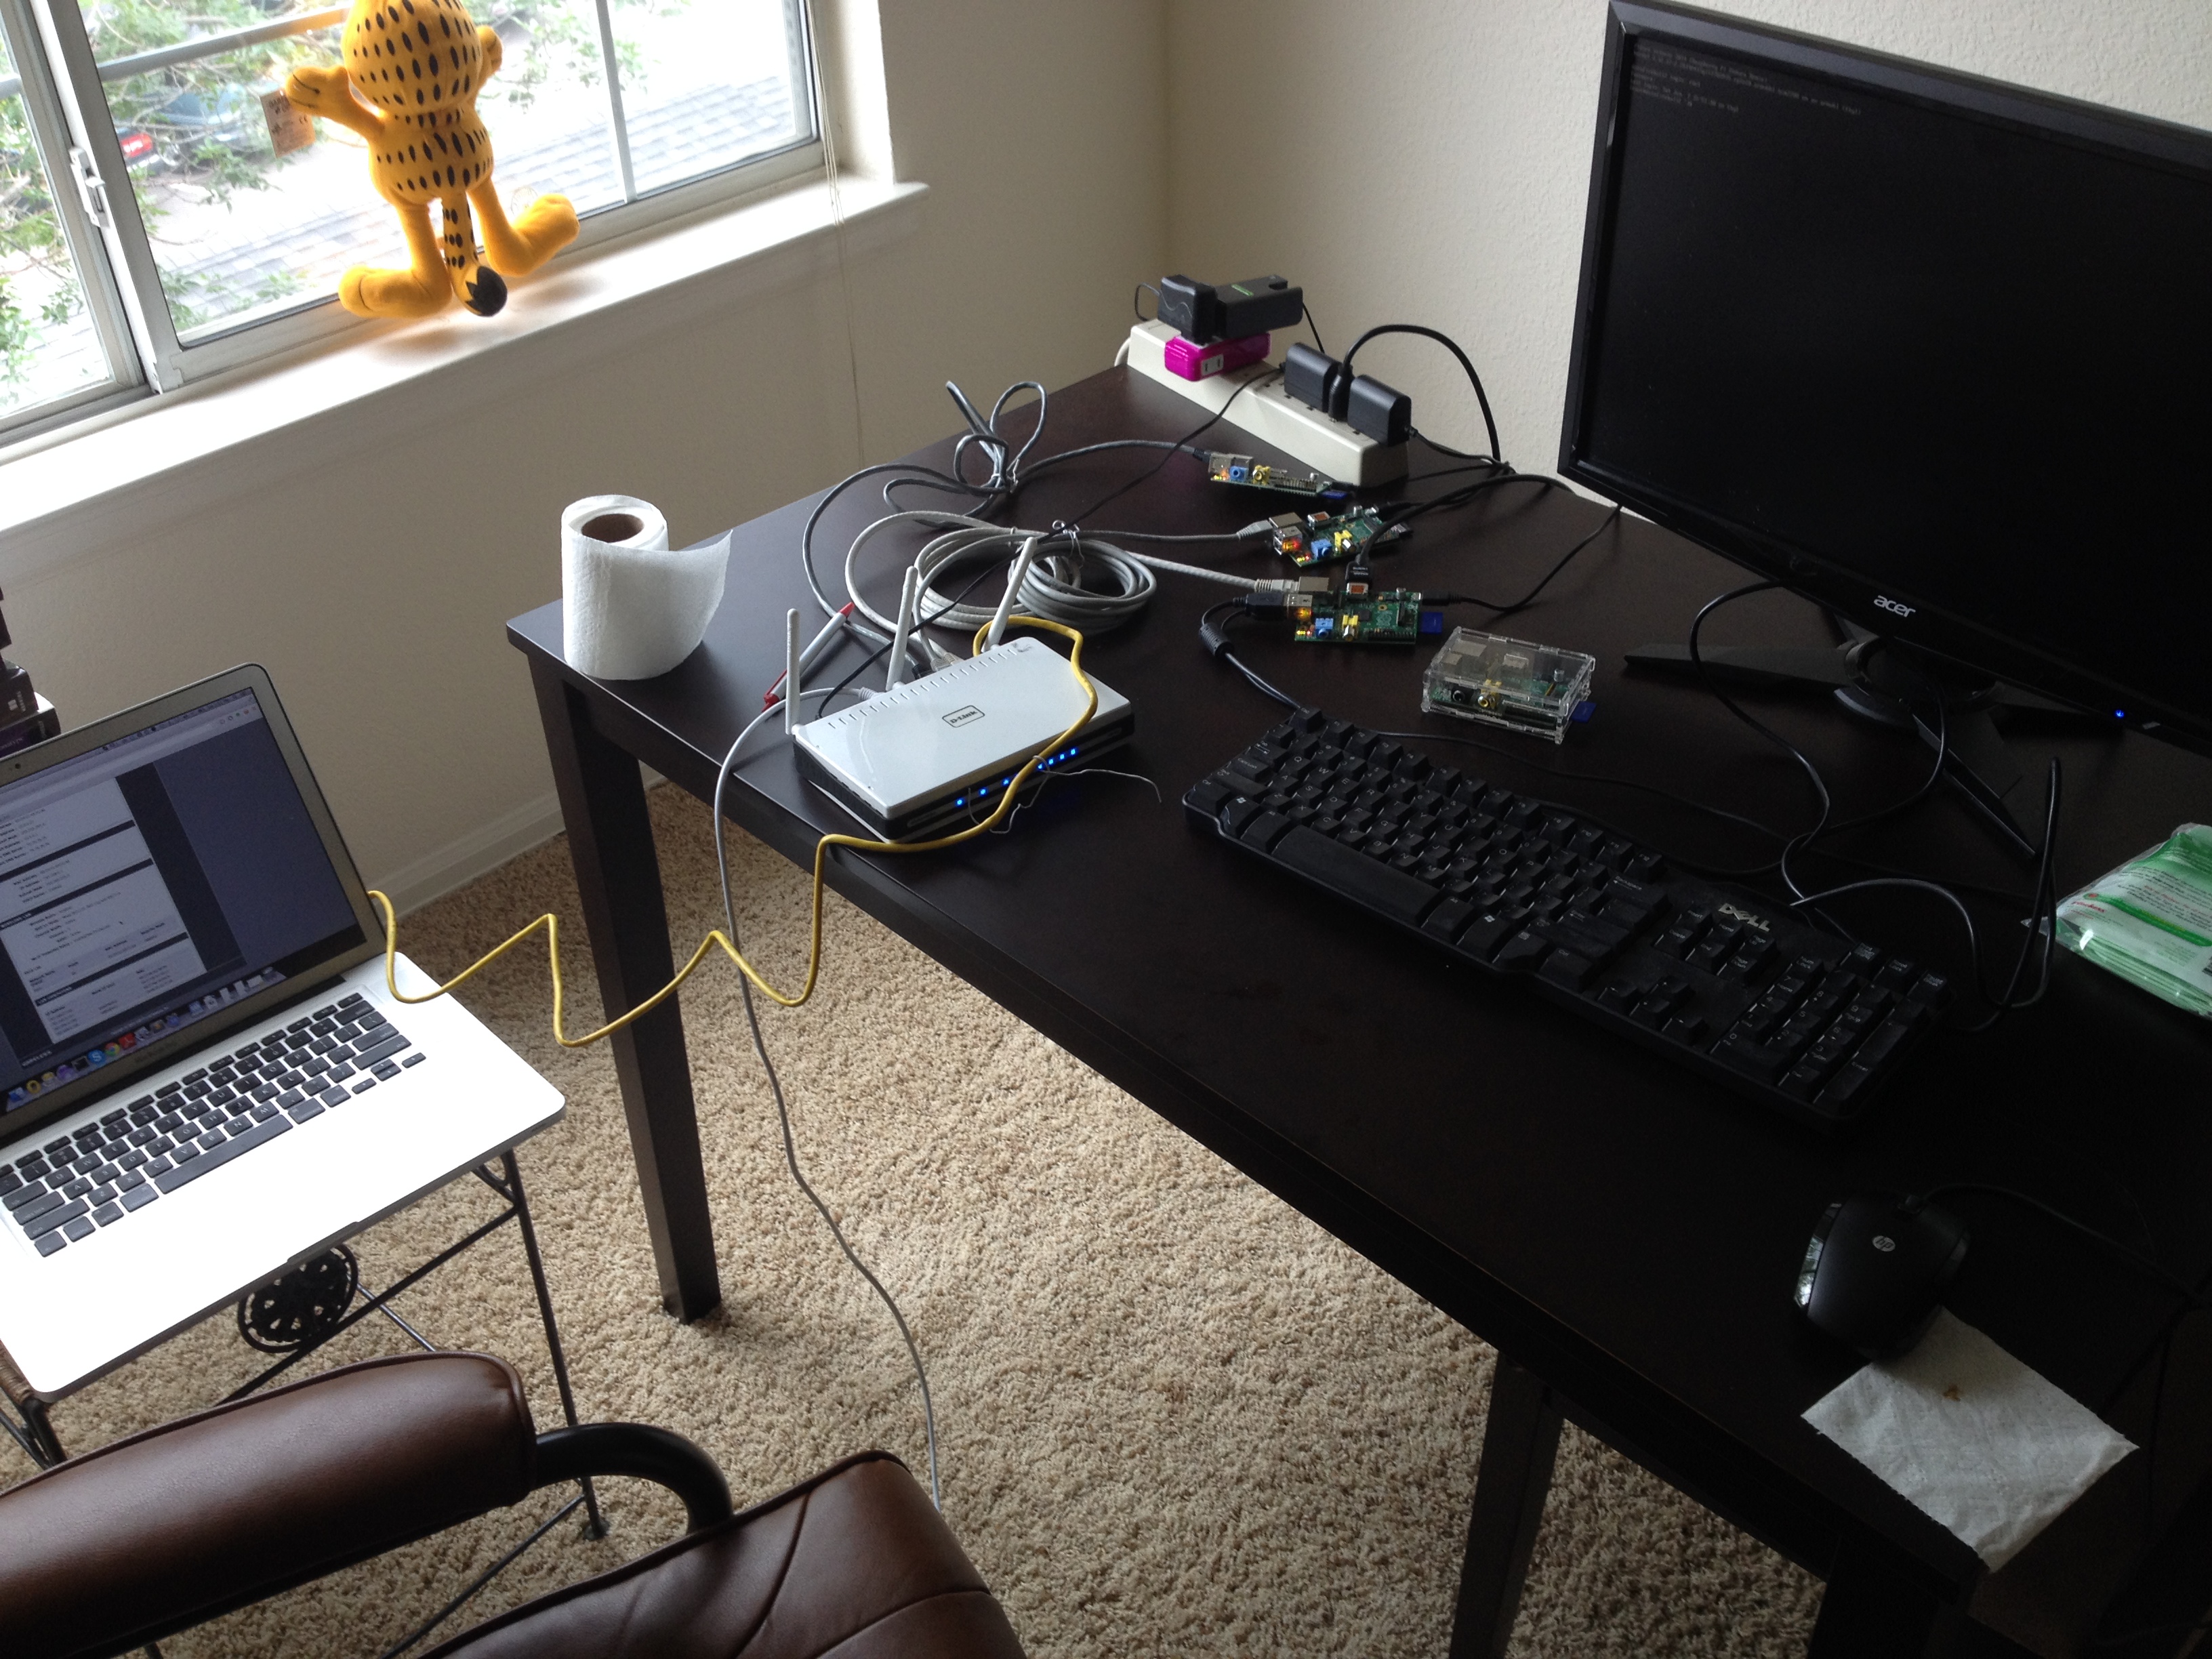
Actually, when I was trying to change the configuration file of hadoop, so the big elephant will fit into the raspberry pi box. I noticed that the board that I was using as the name node is actually a board with 218MB. I remembered that I got this board when Pis first came out and I pre-ordered it for my friend Alex and myself. In this case, I need to switch the namenode probably with another data node so the namenode will have enough resource to get hell out of the safe mode.

raspcluster


  1. There are a few things that I might do in the future, maybe set up Fedora also on my beagleboard-xm which is more powerful than raspberry Pi…
  2. I can run a virtual machine in my laptop just to act as the namenode to drive the other PIs. I don’t know if I can read the img file from the current SD card and create a virtual machine on my box.

However, I can think I already got  a lot of fun from what I have done in this weekend. Myabe I will do that in the future or not… And “认真你就输了” (You lose when you get serious!) 🙂

RASPBERRYPI HADOOP CLUSTER 3-Cluster Management

To manage a cluster, you really don’t want your workload to be proportional to the number of computers. For example, whenever you want to install a software, never ever ssh into every box and do the same thing again and again on every box. There are some tools available for this, puppet and chef are the two most famous ones. There is also another solution called Ansible which is an agent-less management tool implemented in Python, which is actually the tool that I am using because it is (1) agent-less (2) light weight (3) python

yum install -y ansible

vi /etc/ansible/hosts
[cluster]
node[1:4]

ansible cluster -m command -a “yum install -y python-setuptools”
ansible cluster -m command -a “yum install -y python-pip”
ansible cluster -m command -a “easy_install beautifulsoup4”

ansible cluster -m command -a “yum install -y java-1.7.0-openjdk”

Image

This is a screen shot of the command that I run, “cluster” is actually the group name which is all the data nodes.


RaspberryPi Hadoop Cluster 2-Network Hardware

Since we are trying to build a cluster, regardless it is PIs or PC… we need network cable. I actually don’t have enough short CAT5 cables, I need to use the tools that I have to make a few and also fix the ones that have broken headers like this.Image

Actually, it is a lot of fun to make cables, you just need to have the right tool and curiosity, it will be fun, trust me. Here is a video from youtube that helped me a lot.

And here is a few pictures that I took.


Image


This is where the magic happens, pay attention to the silver tooth, which actually presses the copper pins of the header, which cuts the isolators of the wire and get them connected. Also, on the other side of the tool, the header will get clipped with the wire.


Image

A cheap network tester will save you a bunch of headache and you see the new cable works perfectly.

Image


All the tools that I have been using.

Photo Jun 07, 15 55 12


Final set up.


RaspberryPi Hadoop Cluster 2-Network Software

I have an extra router which is a DLINK – DIR-655, there are one input ethernet port and four output ethernet ports. In this case, you use a network cable to connect the one of the output ethernets of the home router to the input of this cluster router.  Now you have a local network, that I will connect the four raspberry PIs that I have to the physical ethernet ports and also connect my Macbook to the wireless of the cluster router. To make things easier, I reserved the IP addresses in the router DHCP settings, so whenever you plug or unplug the power/network cable.etc, your raspberry PI will also be assigned the same IP address since we created the MAC address to IP mapping in the router settings.

Image

Also, to make things easier, I made datafireball1, which supposed to be the master node can log into the other nodes password-less, which requires you to use ssh-keygen command to generate a key id_rsa.pub and copy that file to the .ssh folder every nodes, including the datafireball1 itself, and rename the file to authorized_keys. You probably want to ssh from datafireball1 to the other nodes first because it will ask you for the first time do you want to proceed or not and if so, add the all the nodes to the known_hosts. And from then on, you can log into the other nodes seamlessly.

A few notes that might help the others. Even the sshd service has been turned on as default but I did not see the .ssh folder, I have to manually create it for the first time. Also, you don’t need many keyboards or mouses to control all the raspberry PIs. Once you have the ssh set up. You can operate on your macbook which is a much more friendly environment.

Image